Setting up your font library
Organize your font files and folder structure however you want.
Creating your own font location(s)
While other font managers copy or move your font files to an app-specific library location which may be hard to find, Typeface imports fonts directly from any folder on your Mac, external disk or network share. Typeface doesn’t move or copy your font files when importing, it just links to their location.
This means that you can organize your font files and directory structure however you want. For example you can keep your license files or other assets right next to the font files. Or you can sync your fonts with Dropbox such that your fonts are shared between Macs.
The recommended way to manage your font files with Typeface is to create a central font folder on your Mac where you store your fonts. You can place this folder anywhere you like, for example create a ‘Fonts’ folder in your macOS User folder. Once you’ve added your font files to your new folder import that folder into Typeface by dragging it from Finder to the Typeface window. It will be added to the sidebar immediately and Typeface scans for any font files located in the folder.
You can create multiple font locations, for example one for free fonts and one for purchased fonts. Or create separate locations for different projects. It’s totally up to you.
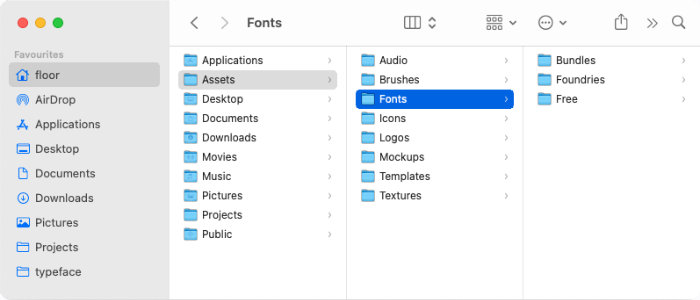
Subfolders of your imported locations will also be visible and browsable in the sidebar. If you keep your font files organized in subfolders you have direct access to this structure in the app.
In short:
- Create a font folder on your Mac
- Move your font files to your custom font folder
- Drag the font folder to Typeface to connect the location
How to import new fonts?
Whenever you download fresh fonts from your favorite foundry you want to inspect all those beautiful characters and organise the fonts right away. To get them into the app simply move the downloaded files to one of your font folders.
Typeface scans your imported locations automatically when you launch the app, so if Typeface was closed you’ll see your new fonts appear a few moments after launching (scanning happens in the background). You can also manually refresh an imported location in the sidebar: > and the new fonts will show up automatically. All fonts imported due to the refresh will be visible in the Last Import tag in the sidebar.
Typeface tracks the font files in your imported locations. Whether you add new fonts, move fonts, rename them or remove them, Typeface will update accordingly after a refresh. As long as the font files exist inside the imported location they’ll be visible in the app. Once you move a font outside of an imported folder (or move it to Trash) the font will be removed from Typeface as well.
In short:
- Download new font files
- Move the font files to your custom font folder in Finder
- Refresh the location in Typeface: >
Importing from other font managers
When you’re switching from a different font manager you may want to transfer your existing font library over to Typeface. System fonts and fonts you’ve imported into Font Book are automatically imported into Typeface. You can learn more in the Font Book article.
You can also import your fonts and sets from Suitcase and FontExplorer, such that you can continue with the same library.
If you’ve been using a different font manager to manage your fonts it depends on the app where your font files are stored. Since Typeface can import fonts from any location you can point it directly to where the font files are stored by your previous manager, or you can copy your fonts first to a more accessible folder. Look at the help documentation of your previous font manager to learn how to export the fonts from its library.
Once you’ve imported your font locations you’re all set and you can start using Typeface to preview, organize and activate your fonts!