Font Management with Tags
Typeface app offers a very flexible tag system to keep your font library organized. And simple drag & drop actions make it easy to use.
Using tags
The sidebar shows all your tags, for example All and Modern. Each of those tags is represented internally by a ‘hash tag’, e.g. #typeface/all and #style/Modern.
The sidebar is divided into three sections:
- Typeface Library tags (including All, User, Activated etc.)
- Imported Locations tags (folders you’ve imported and other font sources)
- Your custom tags
Choose one of the tags in the list to show all fonts attached to that tag. You can create new tags by clicking on the + button in the sidebar or press CommandN.
Attaching & detaching
Drag fonts to a tag in the sidebar to attach that tag. If you want to detach a tag instead, hold the Option key when dropping the fonts on the sidebar tag.
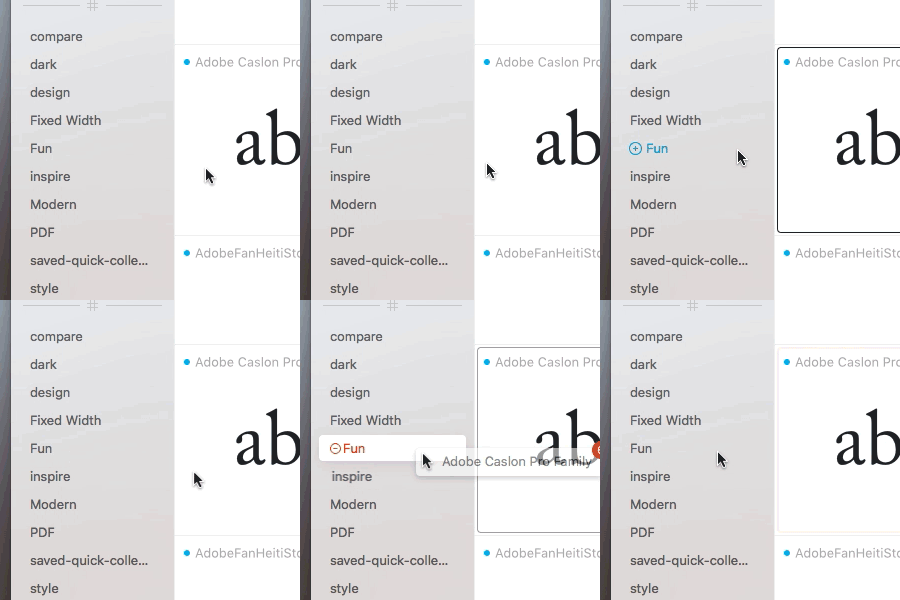
To attach fonts to a new tag drag & drop those fonts onto the + button in the sidebar. Then enter the name for your new tag and confirm with Return. The dropped fonts will be added to the newly created tag. You can also drag and drop font files from Finder directly onto one of your tags in the sidebar.
Multi tagging
Want to attach multiple tags at once? Use the Multi Tagging panel to quickly modify the tags of selected fonts. To summon the panel, either:
- Force click on a font using a trackpad, or tap with three fingers if Force Touch is not available
- Drag fonts to the toolbar at the top of the window
- Right click on a font and choose > from the context menu
- Select some fonts and choose > from the main menu, CommandT
The panel shows a list of tags that are currently attached to the targeted fonts. Tags that are attached to some of the targeted fonts, but not all, will not be shown.
The Multi Tagging panel is fully keyboard controllable. Type to start searching for a tag to attach. Once you’ve found your tag highlight it using the arrow keys and press Return to attach. You’ll return to the list of currently attached tags and the new tag will be added.
You can start searching for another tag or press Return again to confirm and close the panel. Pressing Esc or clicking outside of the panel at any time will also close the panel and attach the currently confirmed tags.
To remove a tag press the Tab key and confirm with Return. The Tab key toggles any highlighted tag. If the currently highlighted tag is not attached pressing Tab will attach it. You won’t return to the currently attached tags list, instead your current search stays active. This is useful if you want to attach multiple tags in a row with a single search term, as pressing Return will clear the current search.
Nest tags
Tags in Typeface can be nested, which allows you to create custom organizational structures.
To nest a tag add the ‘/’ character to a tag name, e.g. ‘#Projects/Company’.
This will create the Projects tag if it doesn’t already exist and will create the Company subtag below Projects.
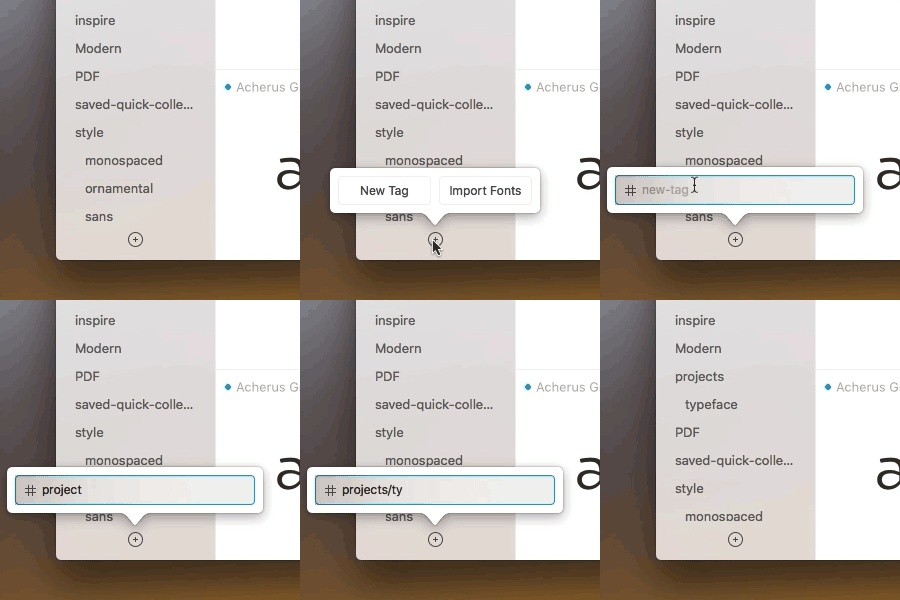
You can also drag a tag onto another tag in the sidebar to nest it.
The dragged tag including all its subtags will be moved to the other tag.
If you want to move a subtag back to the root level drag it to the --- # --- section separator in the sidebar.
Tags can be nested multiple levels deep.
For example ‘#Periods/Decades/1940’ will create two levels of subtags.
Combine tags
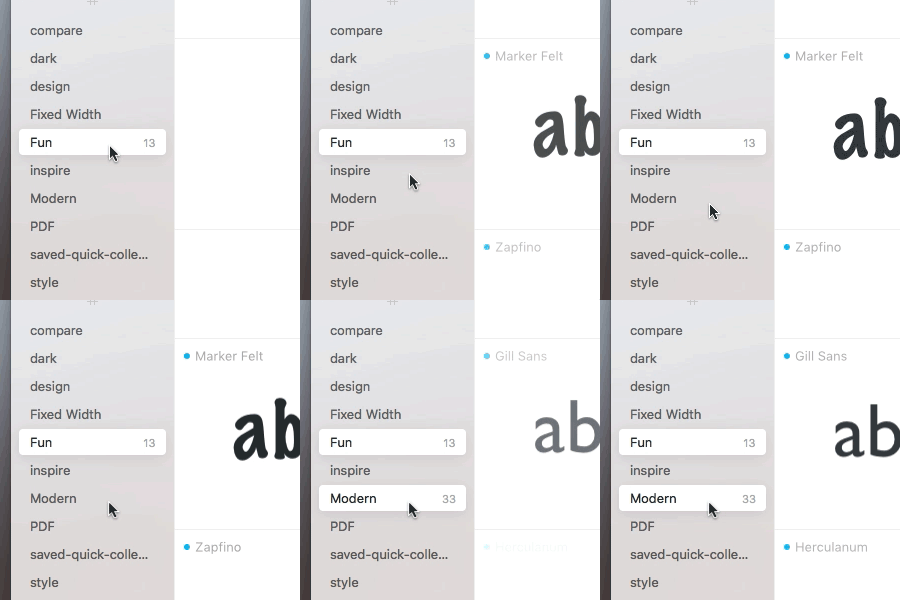
Use the Command key to select multiple tags in the sidebar. When selecting multiple tags the fonts attached to either of those tags will be displayed. That means that the sets will be combined and the total number of displayed fonts will increase.
Invert tags
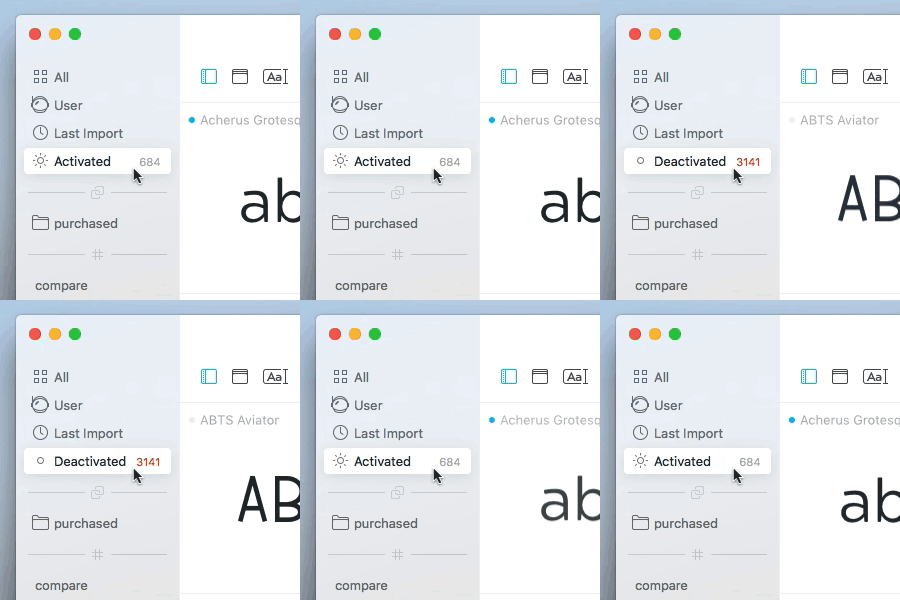
You can invert a tag to show all fonts which do not have that tag attached. For example: Option+click on the Activated tag to show all Deactivated fonts. Likewise, inverting the User tag will display the System fonts tag.
Left click on a tag to go back to the regular (non-inverted) tag. You can also right click on a tag and choose the option to view the inverse.
Filter tags
Use the search field in the toolbar to filter fonts from the current set. When you focus the search field Typeface will suggest a few standard tags which are commonly used to filter your fonts, such as #typeface/user to view User fonts only.
Start by typing the ‘#’ character in the search field to find other tags.
Typeface will autocomplete your tags as you type.
Press Return to confirm the highlighted tag suggestion and add it to the search field.
For example: enter ‘#typeface/activated’ and press Return to confirm the suggestion.
The app will only show activated fonts.
The autocomplete uses fuzzy search, which means that you don’t have to type in the full tag name.
You can skip characters to quickly find the tag you need.
For example: enter ‘#tf/a’ to get #typeface/activated suggested.
You can also filter fonts which don’t have a particular tag attached by inverting the tag.
To do that type ‘#!’ in the search bar and Typeface will show inverted autocompletion options.
For example: add #!typeface/activated to the search bar to show deactivated fonts.
Filtering will subtract a set of fonts from the currently visible fonts; it will decrease the number of displayed fonts. If you enter multiple tags in the search field fonts must have all of those tags attached. For example add both #typeface/activated and #style/serif to view all activated serif fonts.
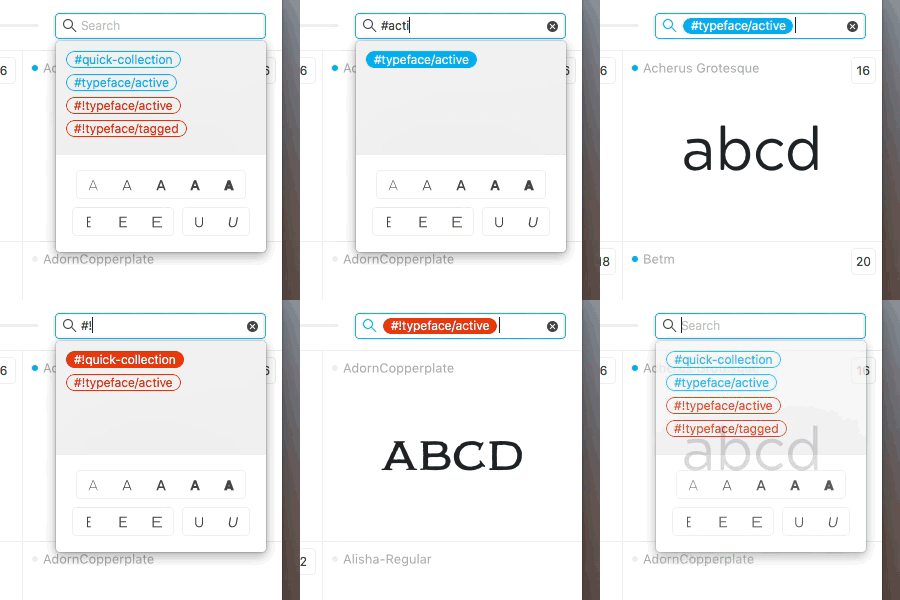
It’s also possible to drag tags to the search field, so you don’t have to type tag names. Drag a tag from the sidebar and drop it onto the search field. The dropped tag will be added to the search terms. Hold down Option while dropping the tag to add the inversed tag to the search field.
Renaming & removing
Double click a tag to rename it. After entering the new name press Return to confirm. Right click on a tag and choose the option to remove a tag from Typeface.
Exporting & backup
It costs considerable effort to neatly organize all your fonts. It’s therefore very important that you won’t lose your carefully tagged library. That’s why Typeface allows you to export and backup your tags to a simple to read JSON file.
You can also use this to import tags to other font managers if they support it. This makes sure you’re not locked to Typeface, the tags you create are yours.
To export your tags choose > > from the main menu. You can import a backup at any time by choosing > > > or double click the exported backup file. The tags in the backup file will be applied to your currently imported fonts. You can use these backups to transfer your tags to other Macs as well.
Identifying untagged fonts
You know what is annoying? Untagged fonts. That’s why Typeface has a special #typeface/tagged tag, which filters all tagged or untagged fonts.
Enter #!typeface/tagged into the search input field to show fonts that don’t have any custom tags attached. You can also reveal the Untagged tag by right clicking on All in the sidebar.
App library tags
There are a few standard library tags that are always available. These are shown at the top of the sidebar. You can hide or reveal these tags by right clicking on the All tag. The following library tags are available:
| Name | Description | Inverse | Hashtag |
|---|---|---|---|
| All | Shows all available fonts | - | #typeface/all |
| User | Fonts not located in any of the system font folders | System fonts | #typeface/user |
| System | Equal to the inverse of User | User fonts | #typeface/system or #!typeface/user |
| Quick Collection | Currently collected (selected) fonts | Not collected fonts | #quick-collection |
| Last Import | Fonts imported during last refresh | Fonts imported before last refresh | #typeface/recent |
| Activated | Currently activated fonts | Deactivated fonts | #typeface/active |
| Temp Activated | Temporarily activated fonts | Persistently activated fonts | #typeface/active/temporary |
| Deactivated | Currently deactivated fonts | Activated fonts | #!typeface/active |
| Untagged | Fonts that don’t have custom tags attached | Tagged fonts | #!typeface/tagged |