Getting started
An introduction to Typeface and its interface.
Installing the app
You can install Typeface in a few simple steps.
First download the latest release of the app.
Double click the downloaded dmg file to open it.
Then drag the Typeface app icon to the Applications folder.
Close the dmg window and you’re done!
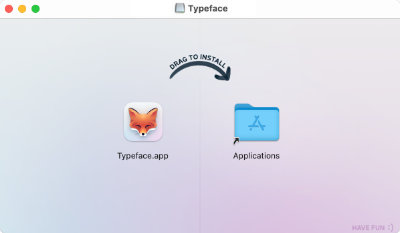
You can also get the app from the Mac App Store. Both versions are functionally the same, but keep in mind that the standalone license won’t be able register the MAS version or the other way around.
Once installed click the Typeface icon in your Applications folder (or Launchpad) to start the app.
First launch
The first time you launch the app you’ll see a welcome screen. Start the Quick Intro to learn the basics of the app. If you’ve skipped the introduction or want to see it again, choose > from the main menu.
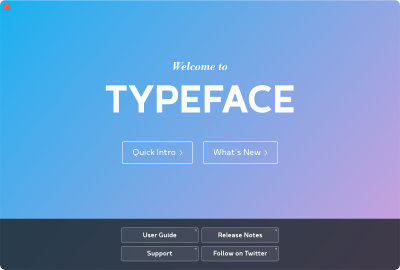
When you’re done with the introduction you can close the welcome screen to reveal the main Typeface window. Typeface imported your fonts from Font Book (which includes system fonts and activated fonts) in the background. You can scroll through your library to view previews for all these fonts.
Your Font Book collections are imported as well, you can find them in the sidebar. These collections are only imported once on first launch to get you started. The collections are not synced, so you can modify, rename or remove them in Typeface, that won’t change the collections in Font Book.
The grid
The grid shows previews of your fonts. These previews allow you to assess the appearance of your fonts, so you can determine which one you want to use in your design.
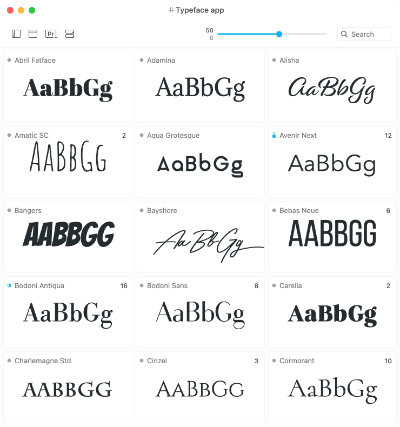
By default the app shows a dynamic preview text based on the character support of a font. For most Latin fonts you’ll see the preview “AaBbGg”. Other fonts may show a different preview, such as emojis or Arabic. Of course you can change it to whatever you want: choose > from the main menu to enter a custom preview text.
You can adjust preview size, tracking and other visual options using the actions in the toolbar and the menu. Learn more about changing font previews
Selecting fonts
Click on a font to select it. Hold down the Command or Shift key to select multiple fonts. Double click on a font to view font details.
You can change this behaviour in the app . Instead of selecting fonts you can choose to view details when clicking on a font. To do that adjust the setting.
If you decide to use a different mode you’ll use the Quick Collection to target fonts.
Quick Collection
Found some great fonts to use in your next design while browsing your library? In Typeface you can temporarily collect them.
When you collect a font it is added to the , a temporary workspace for interesting fonts. Click on the Quick Collect corner on the bottom right of a preview to add that font to the collection. You can review your collected fonts later by clicking on the Quick Collect icon in the toolbar.
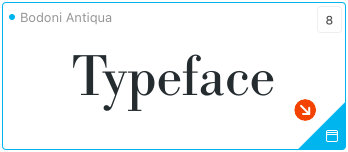
The benefit is that your collected fonts stay available while browsing the app, even if you choose another tag or select a different font. You won’t accidentally lose your carefully selected candidates when clicking outside. The Quick Collection helps you to confidently pick the fonts you need.
Activating fonts
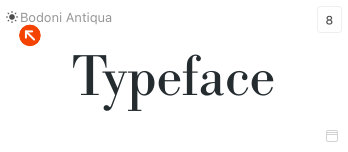
Typeface can preview any font you import, but to use the font in your design application you need to activate it first. You can click on the grey activation dot to activate a font. Activated fonts will show a blue dot. Learn more about font activation
Families
Typeface shows a single preview for each font family. The button in the top-right corner of a preview shows the number of family members. Click the button to view each individual weight and variant.
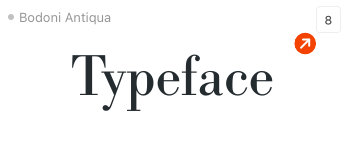
If you want to see separate previews for each style and variant in the overview, disable > > . Learn more about grouping by family
List view
Fancy a more technical overview of font metadata instead of a grid of previews? Choose > from the main menu to switch to the List view.
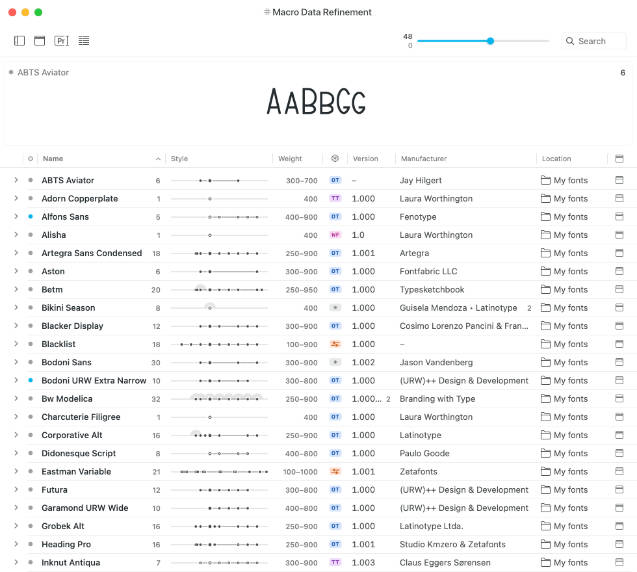
The List view shows your fonts in a compact tabular format. Perfect for cleaning up your library or finding the exact font version you need. You can adjust the List to your preferences: toggle the columns you’d like to see and modify them by resizing and reordering.
Speaking of reordering, click on a column header to sort your fonts based on the info in that column. This allows you to view fonts by name, kind, manufacture, file location and more.
Learn more about the List view
The toolbar
The toolbar provides access to some common actions.

Toggle sidebar
The first button toggles the sidebar. When collapsed you can browse your font collection without any distraction. Alternatively you can swipe on your trackpad or mouse to quickly collapse or expand the sidebar. If the sidebar is collapsed and you drag fonts towards the left side of the grid the sidebar will automatically open so you can drop the fonts on a tag.
Press and hold on this icon to quickly switch between tags.
View the Quick Collection
The second button toggles the Quick Collection. The Quick Collection shows your currently collected fonts. You can use it to temporarily mark interesting fonts for your design.
Right next to the icon the number of currently collected fonts is displayed. Collect a few fonts by clicking on the bottom-right corner of the previews. The fonts will be highlighted and the count next to the Quick Collection will change.
Press and hold on this icon to clear the Quick Collection and remove your collected fonts. Learn more about the Quick Collection
Change previews
The third icon toggles the preview input field. It allows you to change the preview text. Press and hold to switch between preview presets. Learn more about preview appearance
View options
Use the fourth icon to toggle between Grid and List. The Grid shows a visual overview of font previews, while the List shows font metadata. Press and hold the button to get additional view options, such as sorting and columns.
Adjust preview size
You can adjust the font size using the slider. Hold down the Option key and interact with the slider to adjust tracking.
Search
Finally the search field allows you to search for fonts. You can search for font names, foundries, tags, font properties and OpenType features. Learn more about searching
The sidebar
The sidebar is divided into three sections. The top part shows application tags, such as All for all imported fonts and Activated for your activated fonts. Right click on the All tag to toggle the visibility of applications tags in the sidebar.

The next section shows your imported locations. If this is the first time you launch Typeface it will only show the Font Book location. The Font Book location imports all system fonts, activated fonts and other fonts you’ve imported into Font Book. You can import a new location by clicking on the + button or drag a folder from Finder onto the app. Imported locations are links to folders on your Mac. Typeface scans those folders for new fonts and automatically imports new fonts on launch. Learn more about importing fonts
The bottom section contains your custom tags. You can use these to organize your fonts. Create new tags using the + button. Drag and drop fonts to a tag in the sidebar to attach that tag. Learn more about tags
Hold down the Option key and click on any tag in the sidebar to view the inverse of that tag. For example: Option click on Activated to view Deactivated fonts. Option click on User to view System fonts.
Font details
To view more info about a font double click on its preview in the grid. You’ll get access to seven different tabs: Preview Styles, List Styles, Characters, Text, Features, Variables and Info.
Styles
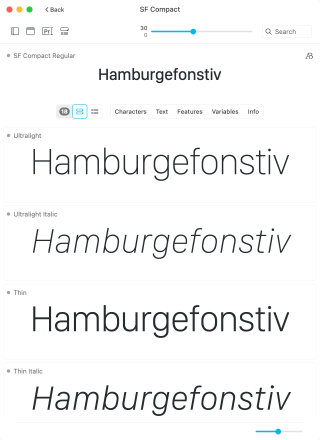
The first two tabs give you more information about the different styles in a font family. Preview Styles will show the previews for all family members. This tab allows you to compare styles visually.
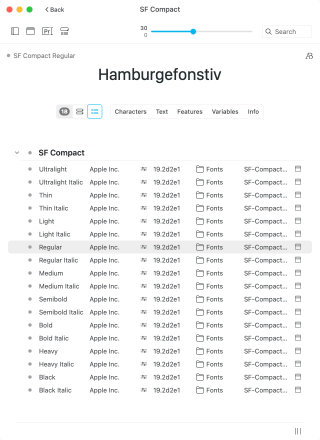
List Styles displays a meta data overview of the styles, such that you can compare fonts based on their technical information and format.
The other five tabs show detailed info about one particular font style.
Characters
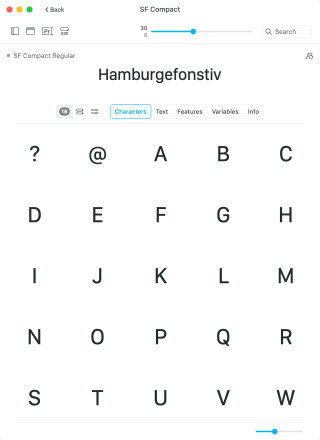
View all the unicode characters a font supports. You can resize them separately from the main previews to get a bird’s-eye overview, or to make them HUUUGE and marvel at every curve.
Text
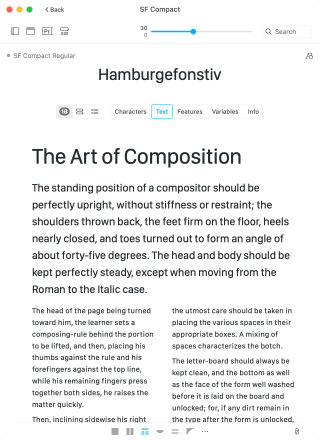
Find out how a font looks in a book, magazine or website article. You can preview one of the full body text layout presets and create your own custom templates. Drag the text up and down or left and right to adjust font size and line height, respectively. Learn more about Body Text
Features
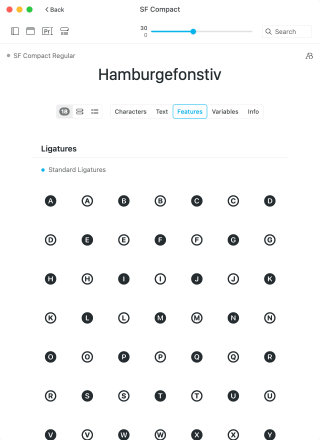
This tab allows you to inspect OpenType font features, such as ligatures, figure styles, character alternates, fractions, capitals and more. Typeface extracts the features that are included in a font and displays the individual glyphs that are visible if that feature is enabled. Hover over the name of a feature to get a live preview at the top of the window. And click on the name or bullet to enable the feature. Note that this is not persistent, if you close the detail view the features are reset. To persistently enable OpenType features use the menu.
Variables
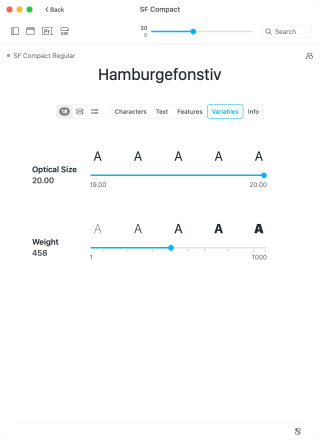
Variable fonts allow you to change certain features of a font, such as weight or slant. Not every font supports this, for some examples see: v-fonts.com
Hover over the sliders to get a live preview at the top of the window. Click to keep the slider in the current position. Double click to reset a variable slider to its original value. You can right click on the displayed value to copy the CSS definition of that variable, or all variables.
A variable font may also contain several ‘named instances’. These are predefined values for the sliders. For example a Regular style often has the Weight slider on 400. You can click on the value to the left of the slider to view the different presets.
Info
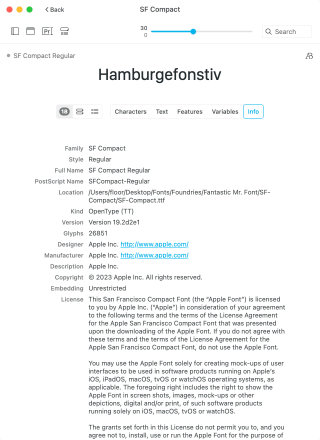
Access the meta-data of a font. Here you’ll find out about the font name, font type, designer, manufacturer and language support.
The bottom of this tab shows a list of tags currently attached.
